

Choose Your Starting Point
AI Integration
Fastest to shipBest for teams with an existing codebase that want Claude Code or another coding agent to plan the model, implement the integration, and drive validation.
API / SDK
Most controlBest when you need custom checkout flows, server-side orchestration, dynamic pricing, or tighter control over integration behavior.
Hosted Checkout
SimplestBest when you want to launch a payment link quickly first and deepen the integration later.
Understand the Product Model
In Waffo Pancake, a product is the billing object used for checkout and tax handling. It is not just a storefront card or SKU.If your business is subscription-based, you may still create one-time charges for setup fees, add-ons, overage billing, or credit packs. That is expected behavior.
Integrate with AI
The Simple Version
Tell your AI assistant:The Full Version
You can also describe your stack for a tailored integration:AI Integration Guide
View the unified AI integration entry point for skill context, SDK patterns, code examples, catalog design, and dynamic pricing workflows.
Ship Revenue in 5 Minutes
No credit card required. No LLC needed. Just sign up and start selling.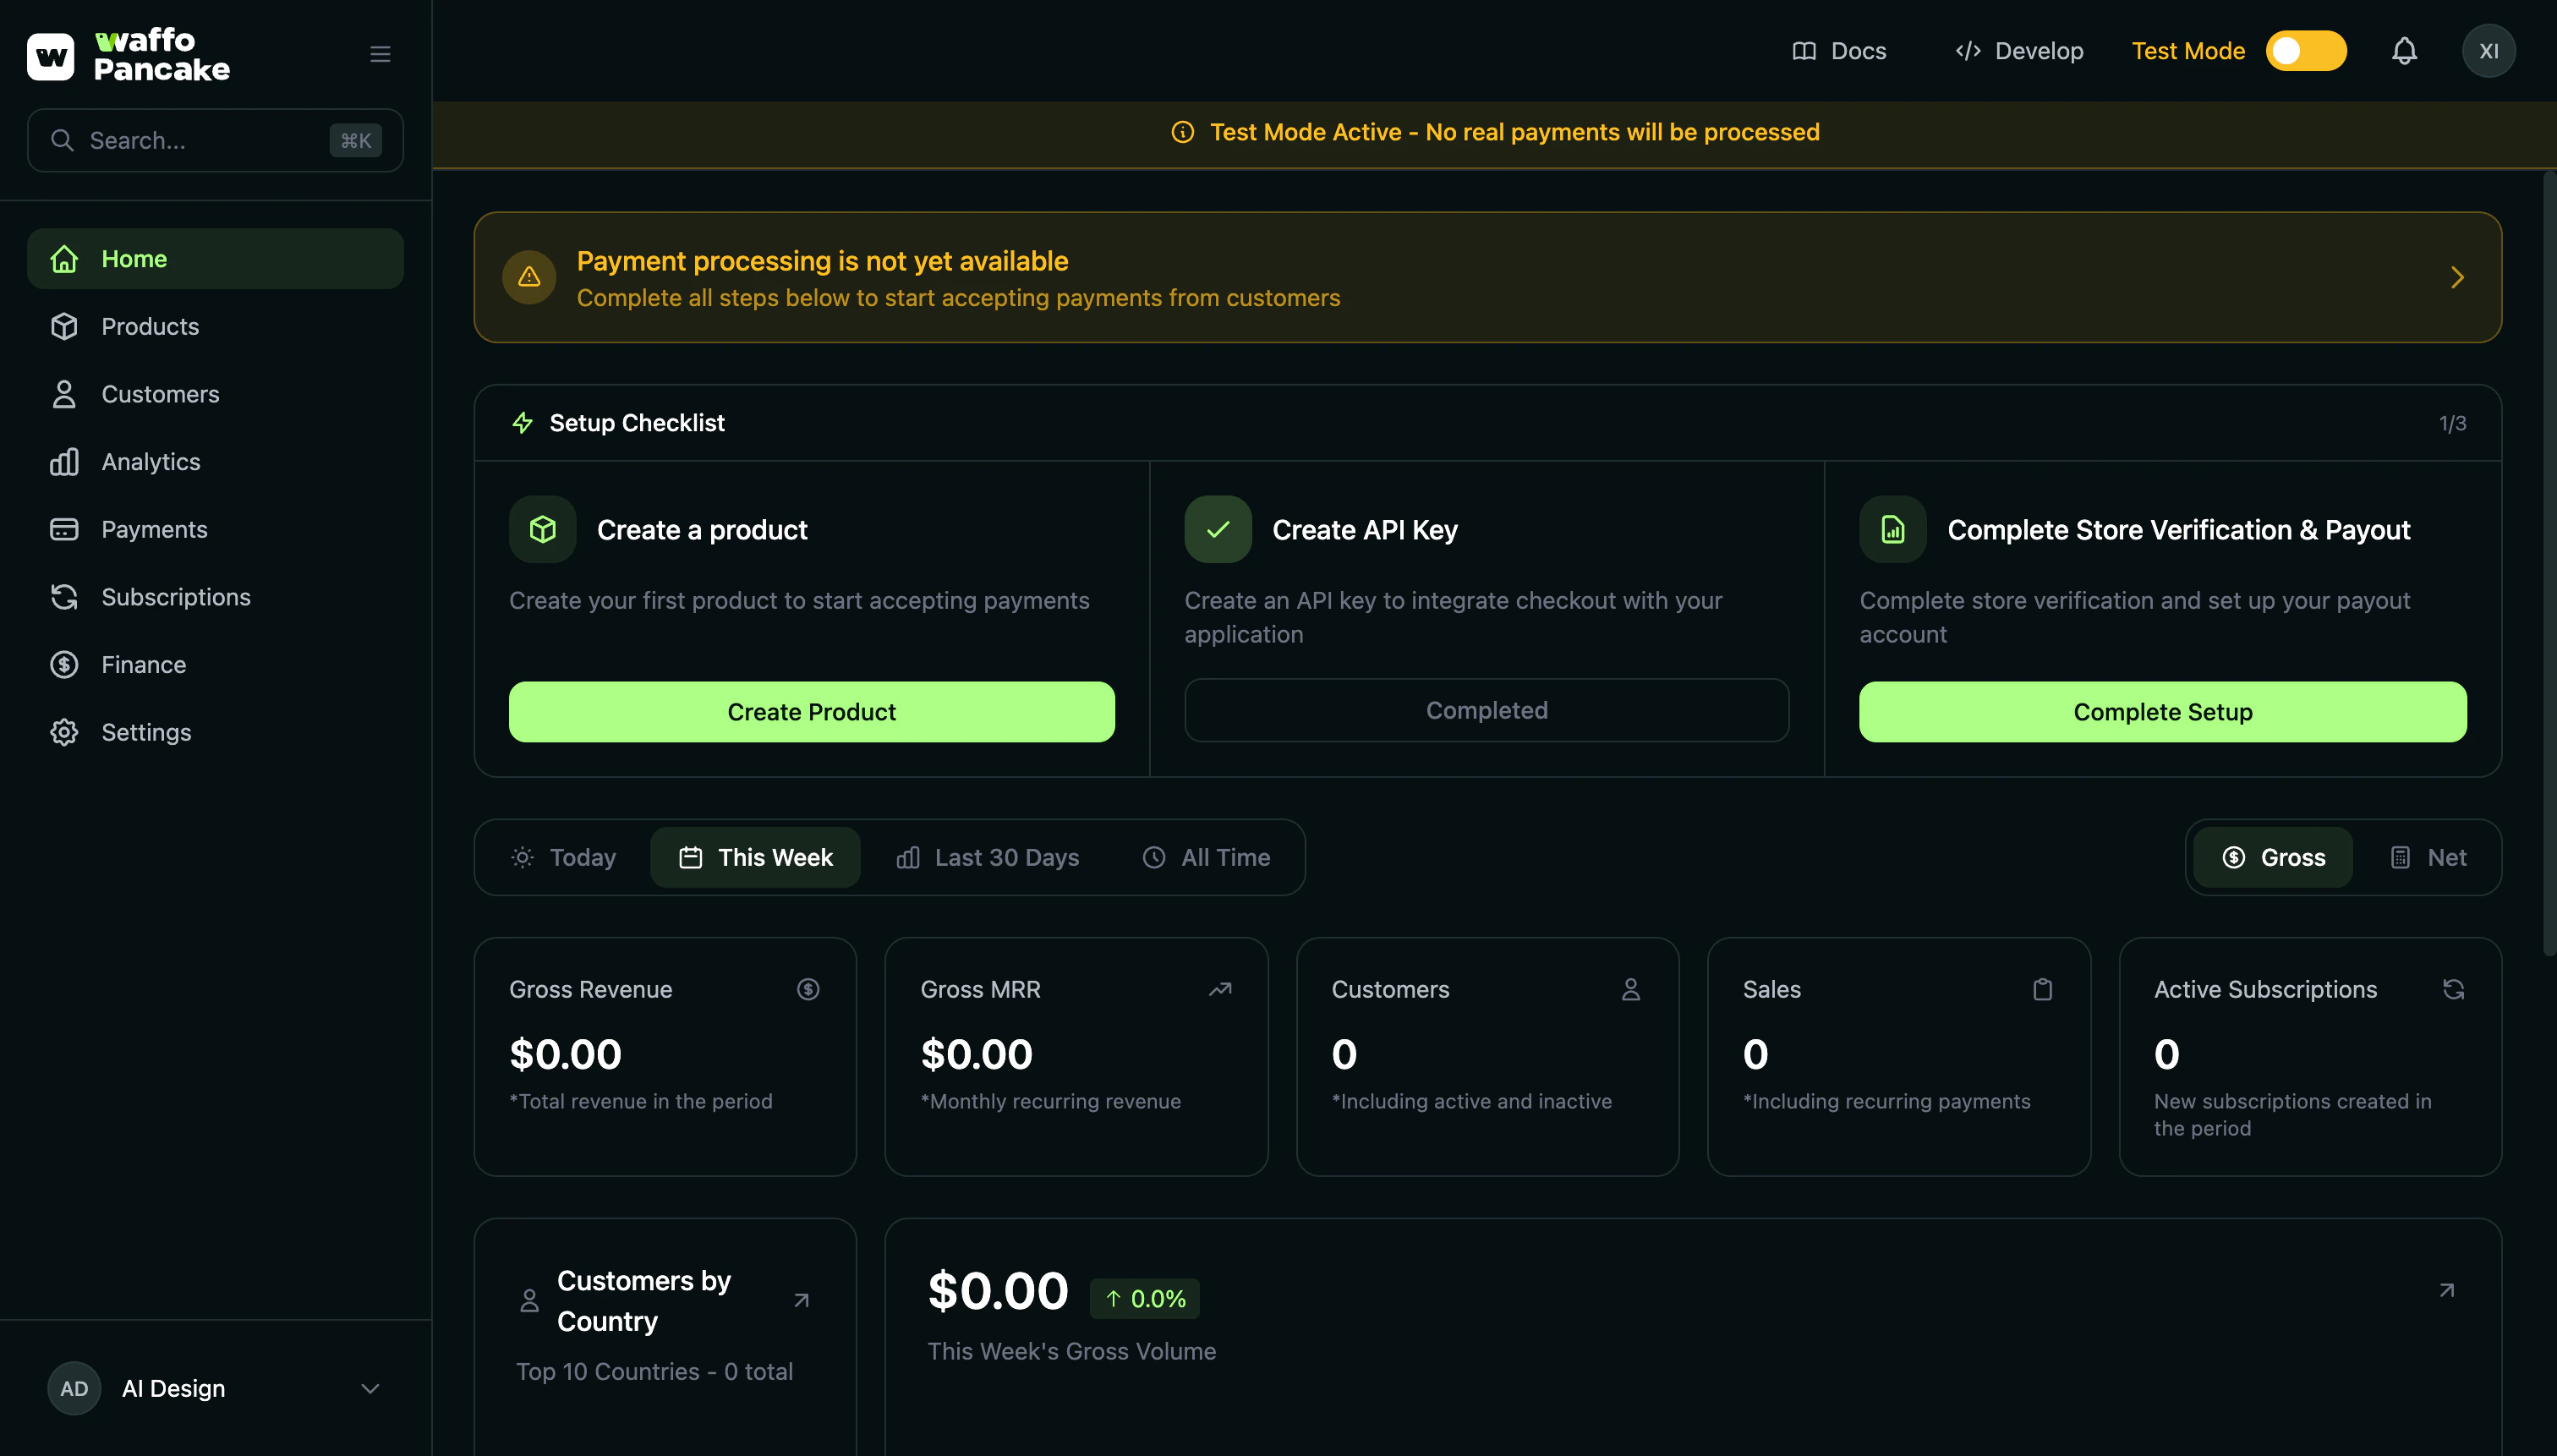
1. Create Account
Visit Merchant Dashboard and sign up with Google, GitHub, or Magic Link.Merchant Dashboard
Sign up with Google, GitHub, or Magic Link — no credit card required.
- Google OAuth — One click. Done.
- GitHub OAuth — For developers. Quick and easy.
- Magic Link — Email. Click link. In.
2. Create Store
First login triggers store setup:No business registration required. Solo founders welcome.
3. Create Your First Product
Dashboard → Products → Create Product
billingPeriod (weekly, monthly, quarterly, yearly).
If your merchant account has multiple stores, confirm which store this product should belong to before creating it.
If you offer multiple plans such as Starter / Pro / Enterprise:
- Create one subscription product per plan
- Start by defining the pricing and billing period for each plan clearly
- Create a base one-time product such as
Usage Overage - Calculate the final amount on your server
- Pass
priceSnapshotwhen creating the checkout session
4. Integrate Payments
Product created? You get a checkout link to add to your website:This link is permanent — it never expires and stays valid even when you update the product. Just click “Copy Link” in the Dashboard.
5. Get Paid
Customer pays → We handle taxes → You receive payout. Funds go directly to your bank account. No intermediary. No delays.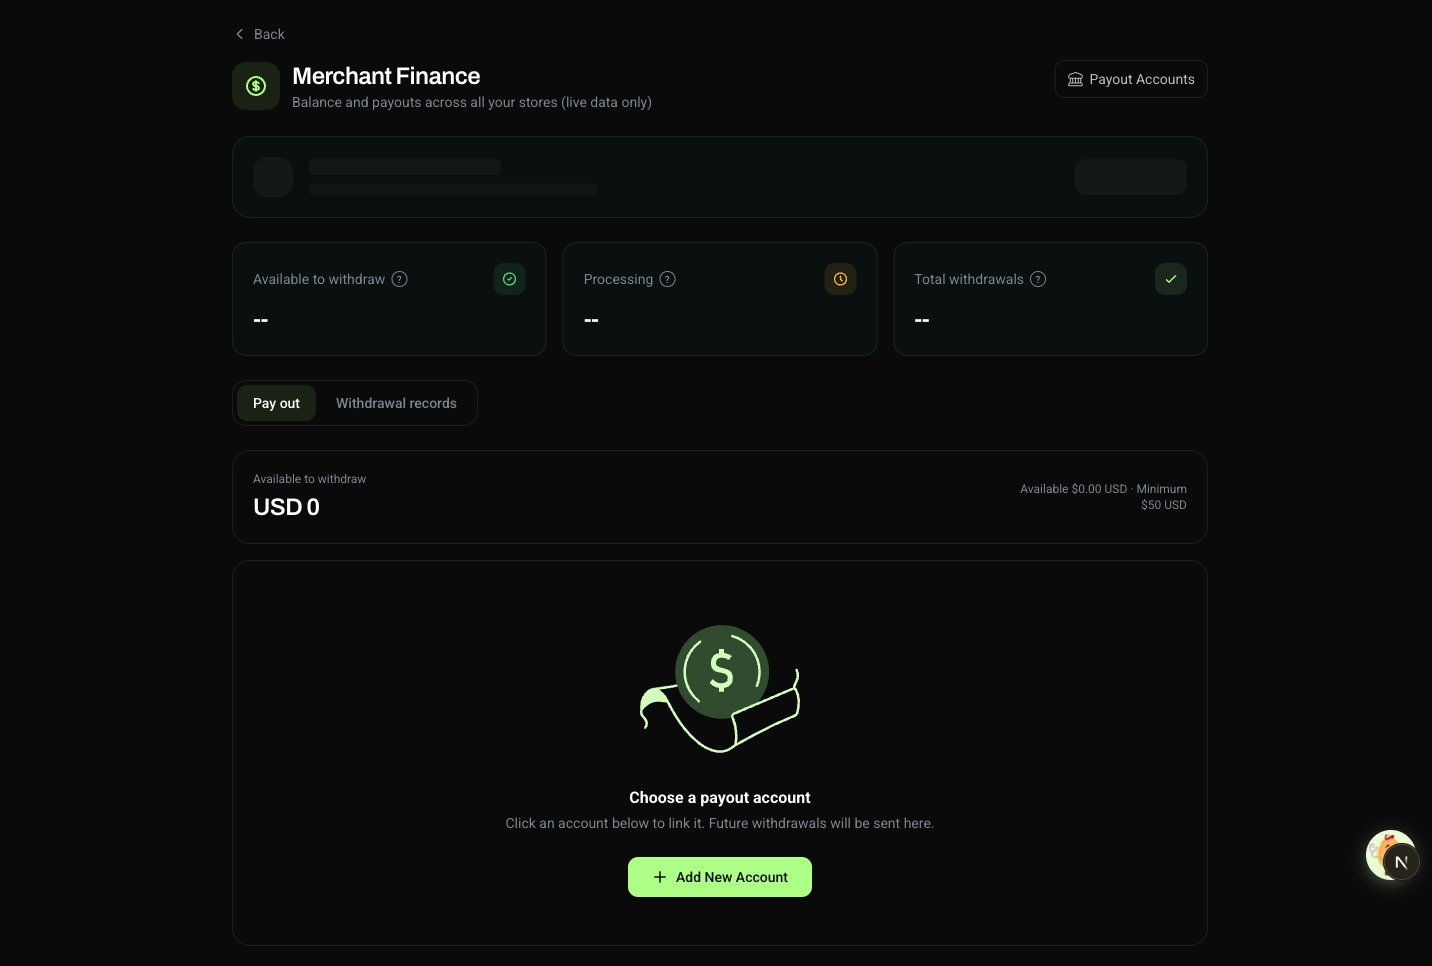
Test vs Live
Test Mode
- No real charges
- Safe to experiment
- Separate test data
Live Mode
- Real payments
- Real payouts
- Toggle when ready
X-Environment header in API. Always test first.
Test Cards
Successful Payments
Declined Payments
Any future expiry. Any CVC.
Going Live Checklist
Before flipping to Live Mode:- Test checkout flow end-to-end
- Verify webhook endpoints (if using)
- Add a payout account (Payout Accounts page)
- Complete business details (Settings → Business Details)
- Review product pricing
- Sync products from test to production
What’s Next?
Products
Pricing models. Trials. Intervals.
Subscriptions
Recurring billing. Dunning. Lifecycle.
Checkout
Your brand. Your colors. Our infra.
Integrations
API keys. Webhooks. Your backend.
Need Help?
Join Discord
Community support. Fast answers.